Apple devices are a salient part of our daily lives. These devices are used for various purposes, from communication to entertainment, from work to personal management. However, it's not uncommon for devices to malfunction or break. This is where the iRepair service comes into play, it provides vital repair solutions for iPhone, iPad, and iPod Touch devices. In this article, we'll review iRepair to help you determine if it's the best choice for device repair. We'll explore the pros and cons of using iRepair and consider important factors such as data security during the repair process. By the end of this iRepair review, you'll have all the information you need to decide if iRepair is the right solution for you.
Part 1: What is iRepair?
iRepair is a service that offers repair solutions for Apple devices, including iPhones, iPads, and iPod Touch. It addresses a wide range of issues such as screen damage, battery problems, water damage, hardware malfunctions, and software glitches.
iRepair can find out everything that's wrong with your device, including testing all the buttons, WIFI, Bluetooth, and speakers. But you'll need to back up your device as much as possible, and while repairs with iRepair don't require clearing your device, they're not liable if any data is lost. You can drop your device off at your nearest store or post it to iRepair, who will diagnose all faults and agree with you on what needs to be repaired and how much it will cost. Most repairs are completed within 60 minutes. All repairs come with a 6-month warranty.
Part 2: Pros and Cons of iRepair
In this section, We will do a comprehensive iRepair review by analyzing its pros and cons.
Pros
1. Convenience:
iRepair services offer the ease of fixing your device without having to visit a store physically, with many providers offering mail-in or on-site repair options.
2. Wide Range of Services:
iRepair covers a variety of issues, including screen replacements, battery replacements, water damage repairs, hardware fixes, and software troubleshooting.
3. Quick Turnaround:
Many common repairs, like screen or battery replacements, can be completed within a few hours or the same day, minimizing downtime for the user.
4. Professional Expertise:
Certified technicians with experience in handling Apple devices ensure that repairs are done correctly and efficiently.
5. Cost-Effective:
Compared to replacing a damaged device, repairing it is often much cheaper. Third-party repair services also offer competitive pricing compared to authorized Apple service centers.
6. Data Preservation Options:
Many iRepair services take steps to protect your data during the repair process, though backing up your data is always recommended.
7. Warranty on Repairs:
Reputable iRepair providers offer warranties on parts and labor, providing peace of mind regarding the quality and durability of the repairs.
Cons
1. Potential for Data Loss:
Despite precautions, there is always a risk of data loss during the repair process. It’s crucial to back up your data before any repair.
2. Variable Quality:
The quality of repairs can vary widely between different service providers. Using non-genuine parts can affect the longevity and performance of your device.
3. Higher Costs at Authorized Centers:
While authorized Apple service centers provide high-quality repairs using genuine parts, they tend to be more expensive than third-party providers.
4. Warranty Issues:
Getting your device repaired at an unauthorized service provider can void your Apple warranty, which might be a significant concern for newer devices still under warranty.
5. Availability of Parts:
For older models, finding the right parts can be challenging, and in some cases, third-party providers might use refurbished or lower-quality parts.
6. Security Concerns:
Handing over your device to a third-party repair service might raise concerns about data privacy and security, especially if the provider is not well-known or reputable.
7. Potential Delays:
For more complex repairs or if specific parts need to be ordered, the repair process can take longer than expected, leading to inconvenience.
Part 3: Top alternative to repair iOS Devices by yourself and keep data intact
If you’re concerned about losing your data during the repair process, TunesKit iOS System Recovery offers a risk-free alternative to traditional iRepair services. This tool ensures that your data remains intact while fixing a wide range of iOS issues. Moreover, it has a user-friendly interface that is quick to get started even for novices. It can fix iOS issues such as the iPhone stuck in the boot loop, a blue line on the iPhone screen, and AirDrop not working on the iPhone, etc. One of the highlights of this software is that you can perform the repairs from the comfort of your home, and it saves the time and effort of bringing your iDevices to a brick-and-mortar store for restoration.
Now let's cut the crap. Follow these 4 steps to fix your iOS Device without any hassle.
Step 1. Connect your device to PC
Download and install TunesKit iOS System Recovery on your Windows or Mac computer, and open this program. Connect your iPhone or iPad to your computer with a data cable. Choose iOS System Repair on the main screen. Hit the Start button to move to the next step.
Step 2. Opt for Standard Repair
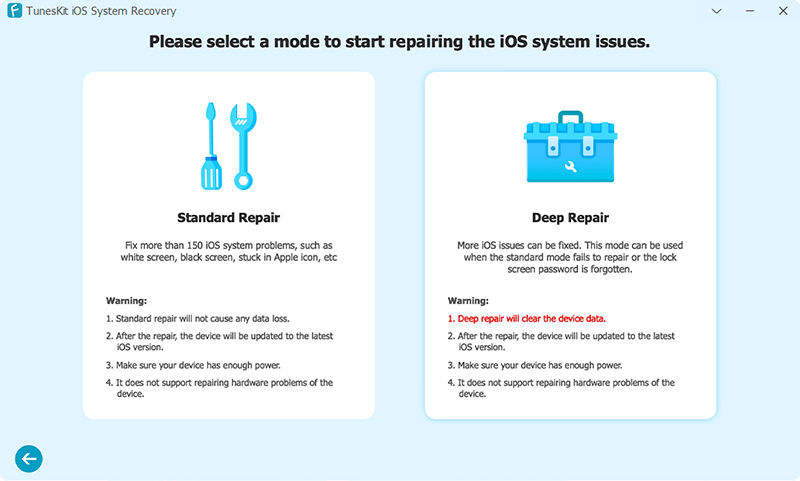
Two repair modes are available for you. Choose Standard Repair and you can repair your iOS device in one click without losing data, choose Deep Repair and it will erase all the data of your device after the repair is completed. It is recommended that you select Standard Repair first and then Deep Repair if it doesn't work.
Step 3. Acquire the right firmware package
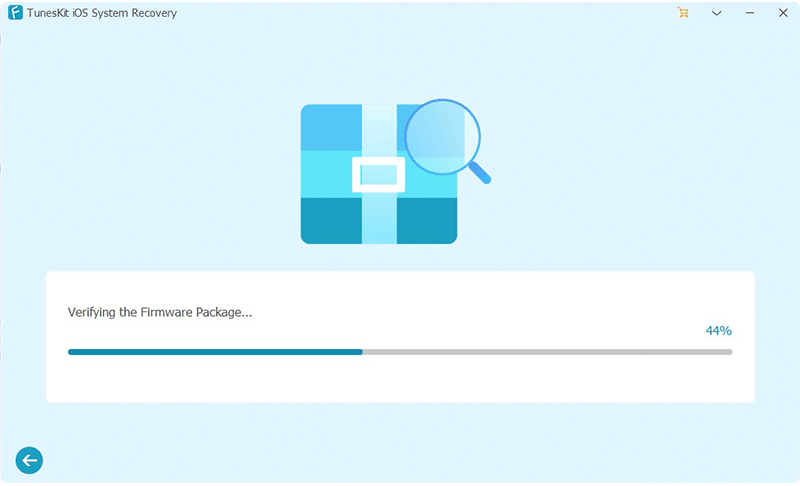
This program will automatically recognize your device model and system version, and you can select the appropriate firmware version from the drop-down menu and click the Download button to start the download of the latest firmware package.
Step 4. Fix your iDevice without data loss
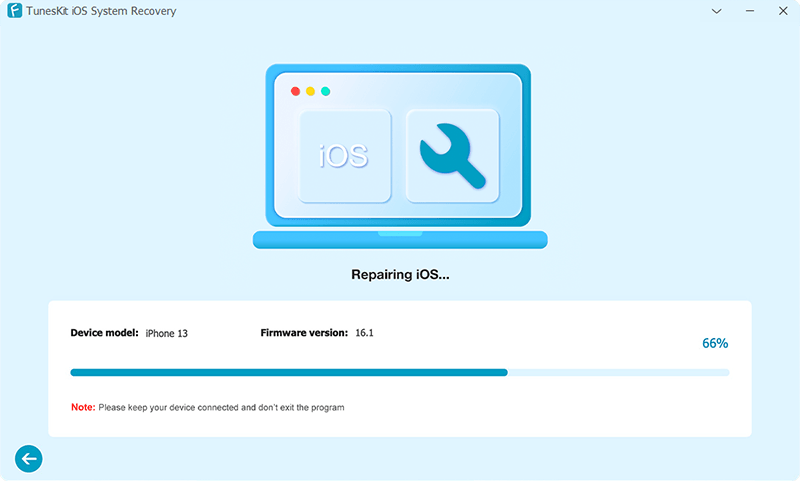
Once done downloading the firmware package, click on the Repair button and this program will start fixing all the problems on your iOS device automatically. Wait patiently for the progress bar to finish and when it is done, click on the Finish button on the software screen, which means your iOS device has been successfully repaired.
Part 4: FAQs about iRepair
1. Is my data safe during the iRepair process?
While iRepair services strive to protect your data, there is always a risk of data loss during the repair process. Before you send your device for repair, it is recommended to make a backup of your data.
2. Are iRepair services available for older Apple devices?
Yes, iRepair services are available for a wide range of Apple devices, including older models. However, the availability of parts for very old models may be limited, so it’s best to check with the service provider.
3. How much does an iRepair service cost?
The cost of iRepair services varies based on the type of repair, the parts used, and whether the service is provided by an authorized Apple repair center or a third-party provider. It’s best to get a quote from the service provider before proceeding.
4. How long does an iRepair typically take?
Repair times can vary depending on the issue and the provider. Common repairs like screen or battery replacements can often be done within a few hours or the same day. More complex repairs may take longer.
Conclusion
That’s all about the iRepair review. Although iRepair offers a convenient way to fix common issues with iPhone, iPad, and iPod touch, the potential risks, such as data loss, need to be considered. TunesKit iOS System Recovery is an ideal solution with its Standard Repair feature for those seeking the safest repair method without losing the device's data. It takes less than 10 minutes to fix your iOS device in one click and get your device back to normal. It also allows you to maintain complete control over the repair process, ensuring a worry-free experience. Download it now to enjoy the ultimate experience it brings you.


