Jan 19, 2021

Top 10 Best Split-Screen Video Editor 2021

Video editing is such a huge and interesting career choice. Millions of people are moving toward this field as it is not very hard to edit video because of all the latest video editing tools that are easy to use and do not require any prior knowledge to operate them. They allow you to create some professional-looking results. One of the ways to make your video look more professional is by adding the split-screen effect. This effect is relatively easy to pull off. It allows you to explain your story in better ways.

There are thousands of video editing tools, but only a few editors support split-screen editing. In this article, we are going to introduce the 10 best free split-screen video editor.

best-split-screen-video-editors

Now that you know the importance of split-screen video editing and how helpful it can be in explaining the story, in this part, we will be introducing the best split-screen video editors available on the market that you can use to add the split-screen effect to your videos.
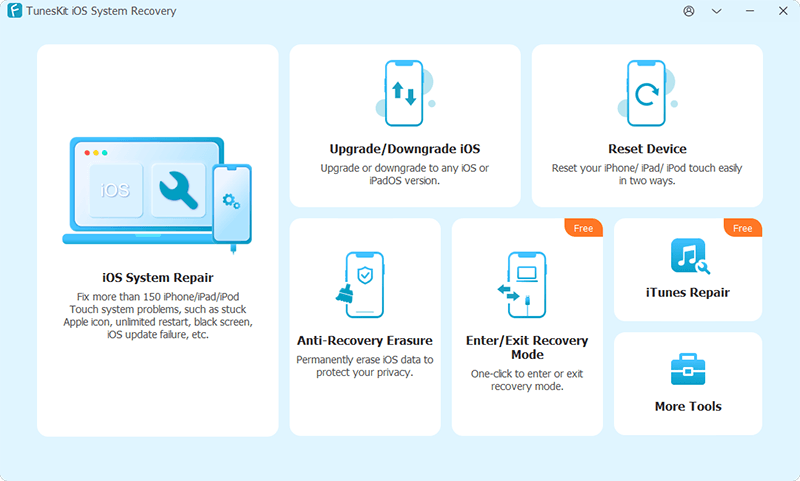
  1. TunesKit AceMovi

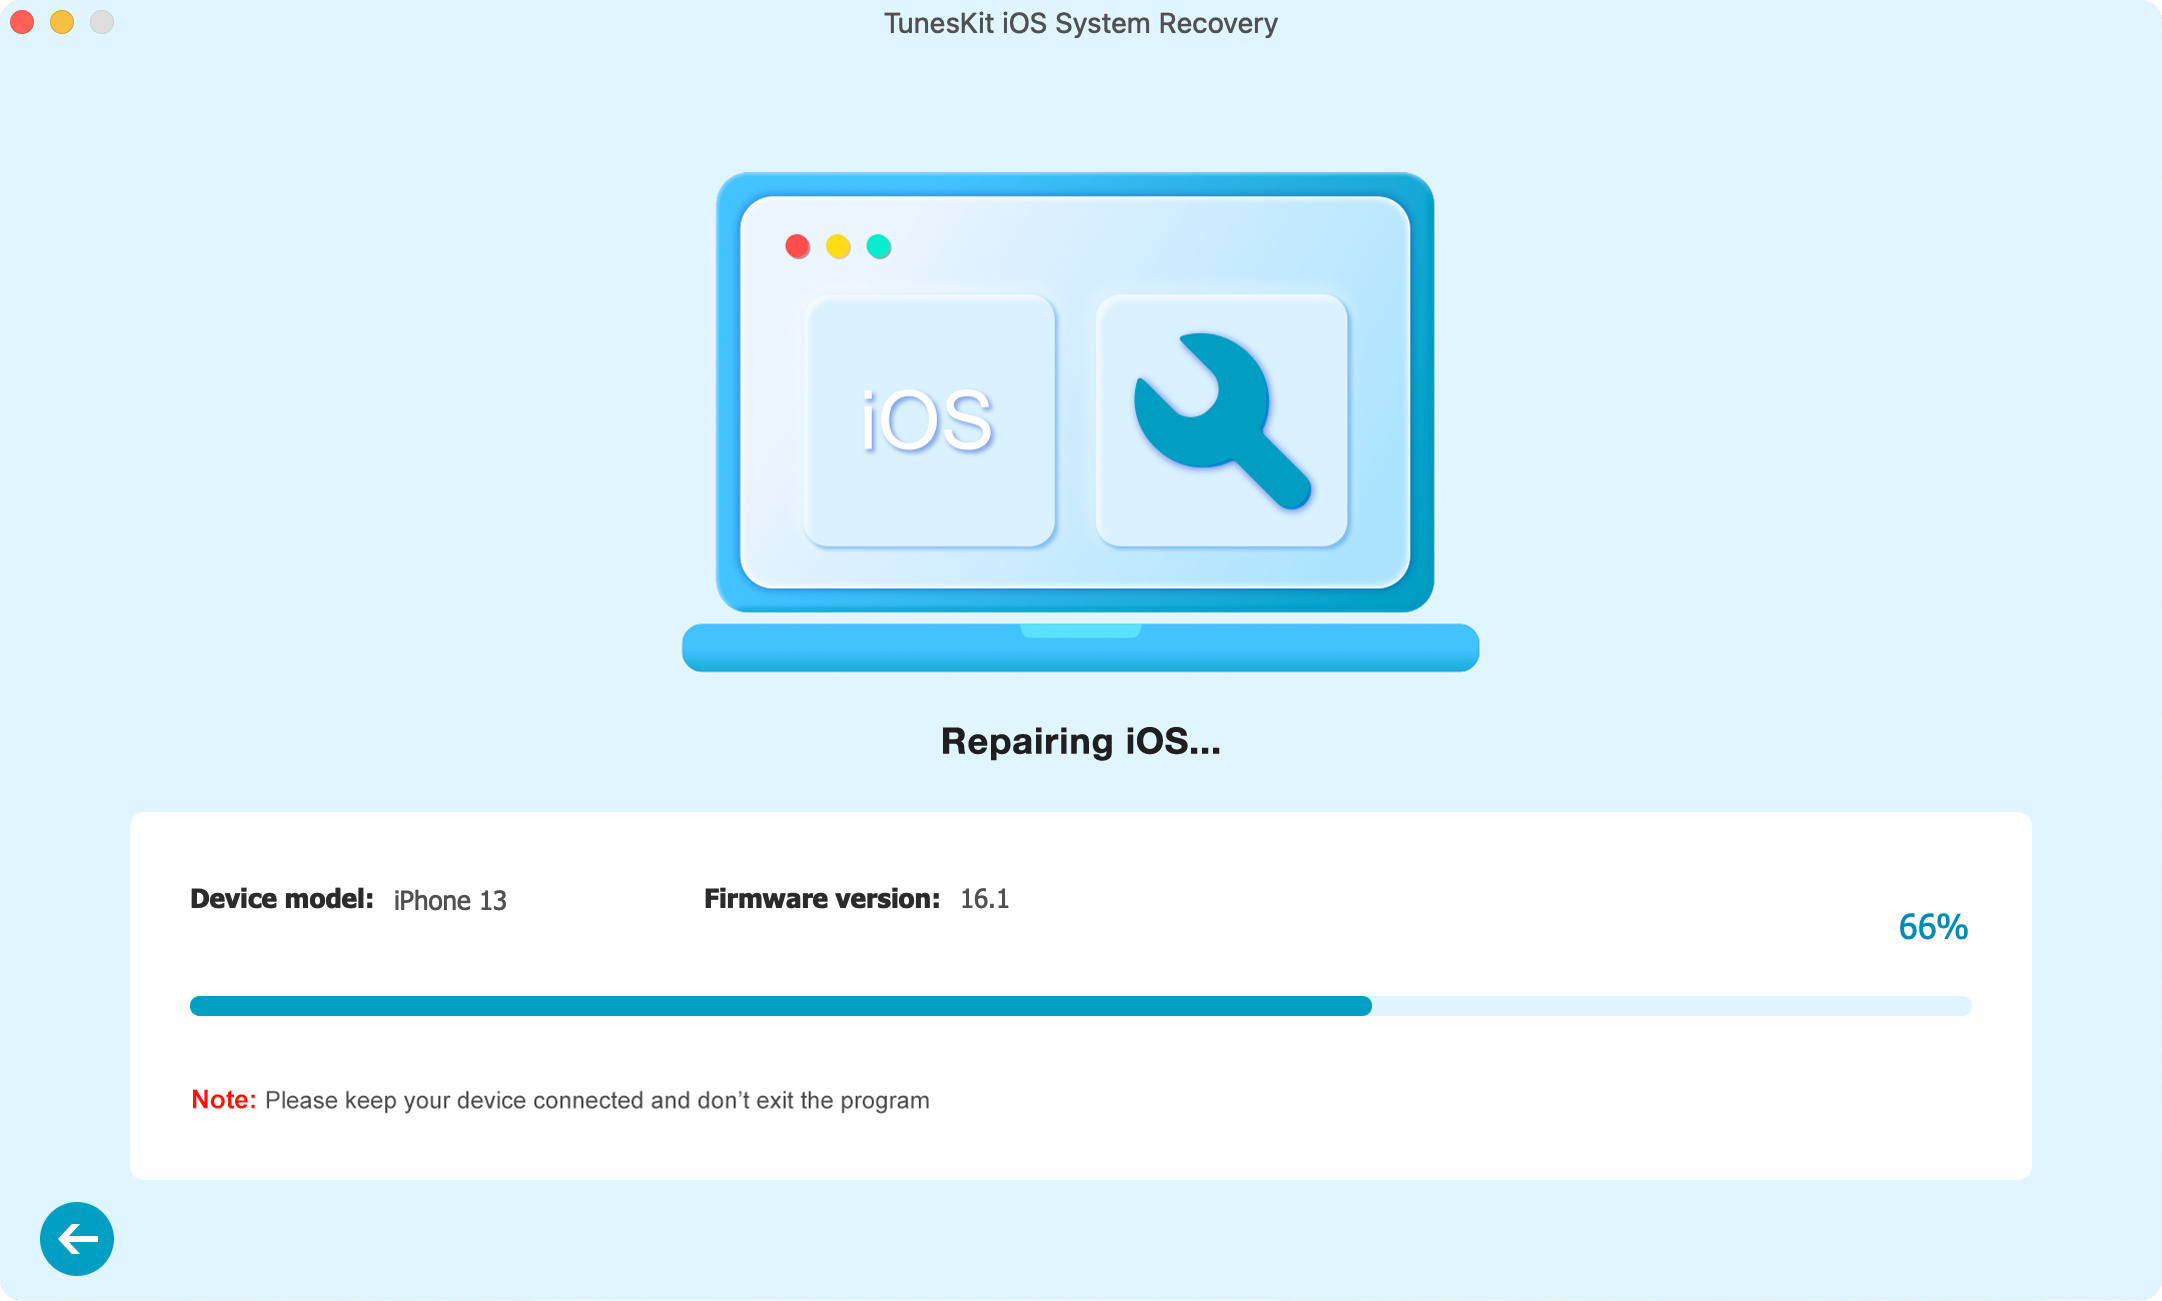
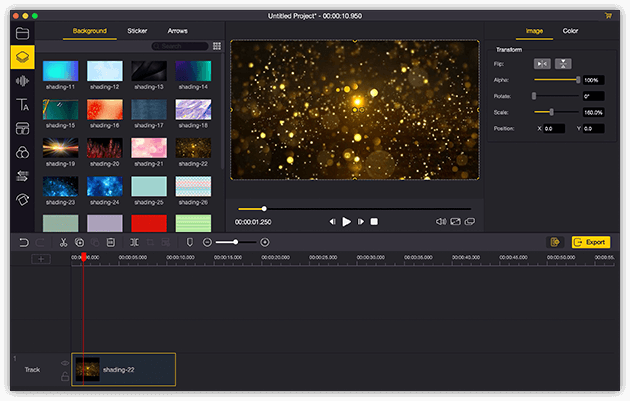
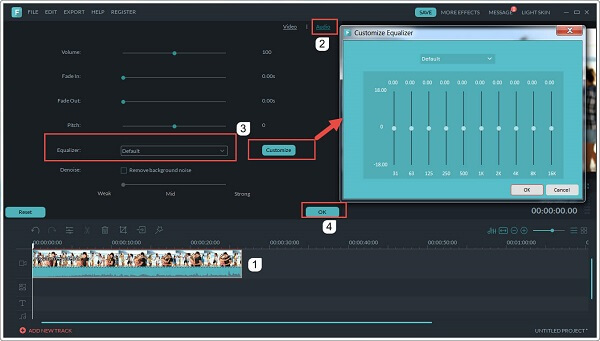
TunesKit AceMovi is the first and most probably the best free split-screen video editor for Windows 10 & Mac on this list that allows you to add a split-screen effect to your videos. It also allows you to perform basic video editing tasks easily. TunesKit AceMovi has a built-in color grader and also has a huge library of built-in presets, which makes it easier for the user to make some splendid results without much effort. TunesKit AceMovi is available to use on both Mac and Windows. It allows you to add multiple videos on the split-screen, unlike other video editors in this article.

tuneskit-acemovi-interface

Pros:

  • Supports multiple videos on split-screen.
  • Is free of cost.
  • Has a simple and intuitive interface.

Cons:

  • Does not work on old versions of Windows.

  1. iMovie

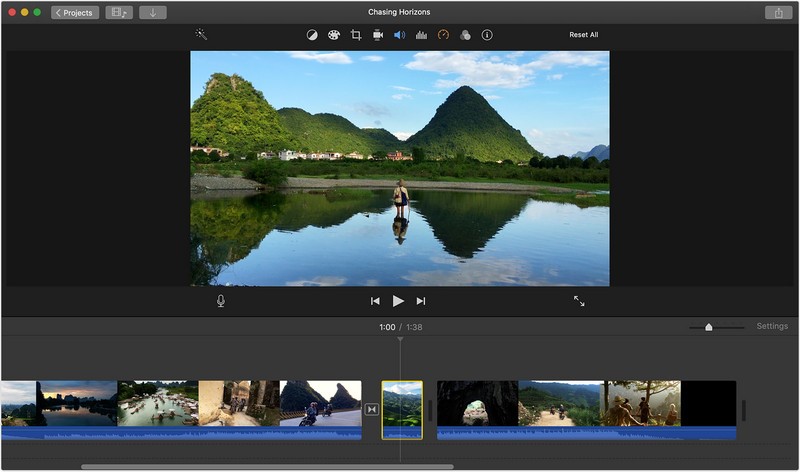
The second video editor in our rundown is called iMovie that allows you to add the split-screen video effect on your videos to provide a more immersive experience. iMovie is a free video editor that is available on both Mac OS and IOS devices. It allows you to perform basic video editing tasks like adding effects, trim, crop, cut, etc. It has a very simple interface, which makes it very easy for the user to interact with and make some astonishing results.

imovie-interface

Pros:

  • Is free of cost.
  • Has an easy to interact interface.

Cons:

  • Is only available on Apple devices.
  • Supports up to only 2 videos on the split-screen.

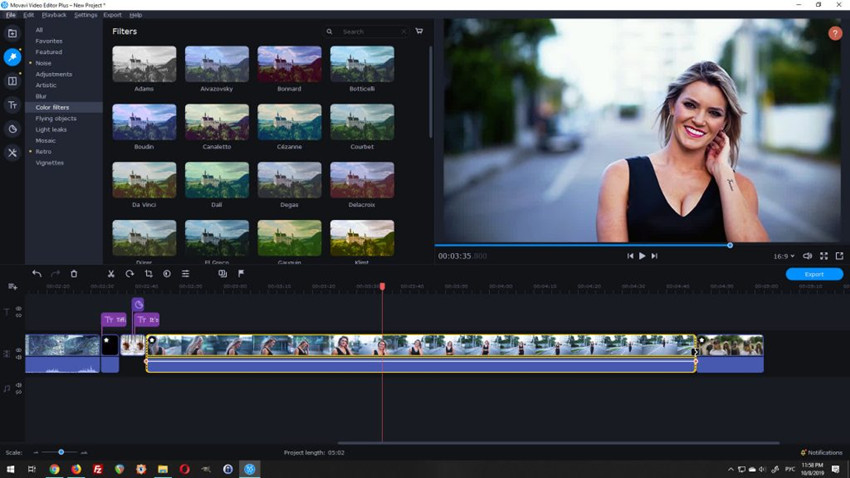
  1. Wondershare Filmora Video Editor

Quite possibly, the most powerful applications that are on the list and after editing applications like Adobe Premiere Pro and Final Cut Pro X, Wondershare Filmora, is likewise a split-screen video editor. The product is accessible for Windows and Mac PCs and offers brief specialized help to its buyers. Even though Filmora Pro that stuffed with further developed features, is likewise accessible, on the majority of the occasions, Filmora fills the need quite well.

wondershare-filmora-interface

Pros:

  • Doesn’t require a lot of storage.
  • Allows multiple videos on the Split screen.
  • Has built-in split-screen presets.

Cons:

  • Software crashes a lot.

  1. VSDC

Another free and efficient video editor on our list is VSD. It is a professional level editing tool that can easily create some good looking edits. It can easily do the split-screen effect with multiple videos. It also has built-in split-screen effects.

vsdc-interface

Pros:

  • Totally free to utilize.
  • Supports unlimited video on the split-screen.

Cons:

  • Does not support automatic video positioning.

  1. ShotCut

It is free, open-source software that allows even the beginner to make some amazing edits. It supports split-screen features means it can create some amazing results. It is available in both x64 and x84 variants for different architectures on both Windows and Mac.

shotcut-interface

Pros:

  • It is available to download on both Windows and Mac.
  • Has built-in presets for split-screen.

Cons:

  • Require some knowledge and practice to make split-screen edits.

  1. Lightworks

The next video editor on our list is Lightworks, which is a professional editor. This editor has helped prepared movies like L.A. Confidential, The Wolf of Wall Street, Bruce Almighty, etc., which means that it is a full-fledged video editor that can create some splendid results. You can easily make the split-screen effect with some basic knowledge.

light-works-interface

Pros:

  • The free version supports split-screen.
  • It is an all-in-one tool.

Cons:

  • Doesn’t have multiple split-screen presets.
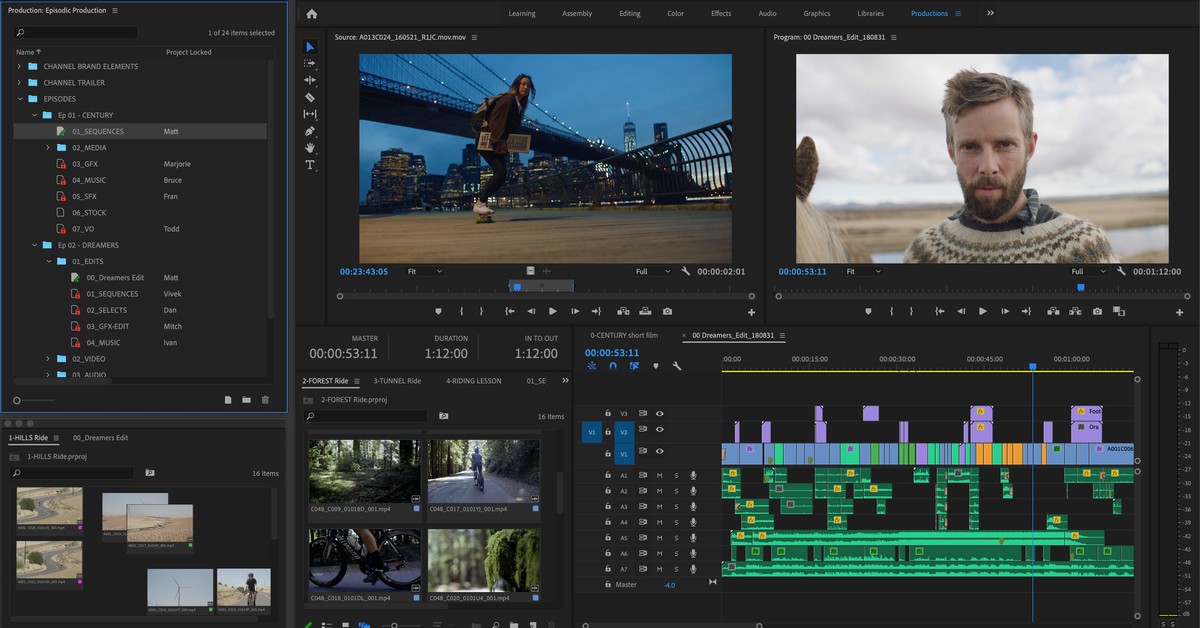
  1. Adobe Premiere Pro

Adobe Premiere Pro is no doubt the most famous video editing tool on our list and easily create some amazing results. If you have some basic video editing knowledge, you can make split-screen edits to your videos effortlessly.

premiere-pro-interface

Pros:

  • One of the most feature-rich tools.
  • Can add unlimited video in the split-screen.

Cons:

  • It is not free to utilize.

  1. Corel VideoStudio

The next video editing tool is an award-winning video editing tool that allows you to create some great professional looking edits. It is an easy to access interface and can create split screen video effects effortlessly.

corel-video-studio

Pros:

  • Has a huge built-in library.
  • Supports up to 4k videos.

Cons:

  • Requires a lot of space.

  1. VideoPad Video Editor by NCH

As we are approaching the end of our list, the next video editor on our list is VideoPad video editor. It has native support of multiple presets and formats. It can create some excellent results effortlessly and supports multiple videos in the split-screen edits.
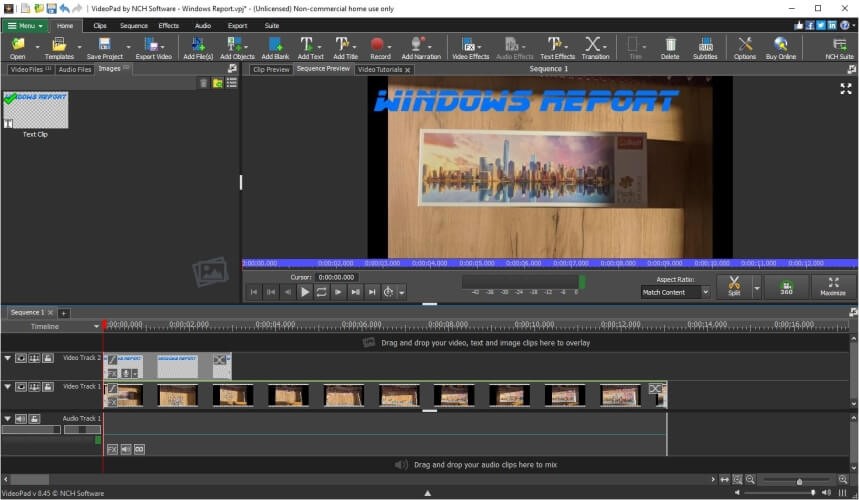
videopad-video-editor-interface

Pros:

  • Has native support to the latest formats.
  • Can edit 360-degree video.

Cons:

  • The software is unreliable and glitchy.

10. Cyberlink PowerDirector

The last software on our list is Cyberlink PowerDirector, which is a high-performance editing tool that you can use to make basic and advanced edits to your videos. It has is a very powerful animator. It can also perform video editing actions such as trim, cut, crop, split-screen, color grade, etc.

power-director-interface

Pros:

  • Is a professional all-in-one video editor.
  • It can make animations.

Cons:

  • Difficult to understand.

Conclusion

In this article, we discussed the top 10 best split-screen video editing software that is available on the market. We provided you with the best tools; now, it is your personal preference. We suggest you use to TunesKit AceMovie video editor as it a powerful free tool that is easy to interact with.

For more info, please read the source of this article:

https://www.tuneskit.com/video-editing-tips/how-to-make-a-split-screen-video.html

You may also be interested in:


Jan 14, 2021

6 Tips to Fix AirPods Won't Connect to iPhone/iPad

 AirPods have been increasingly popular among Apple users. But sometimes, some people will have their AirPods won't connect to iPhone or iPad? Do you have this issue, too. In such this case, why the AirPods won't connect to iOS devices? There are several situations such as software glitches, AirPods in low battery, iOS system problems and more. Then how to connect AirPods to iPhone/iPad successfully? Please see the 6 useful tips presented below.

Tip 1. Fix iPad Is Disabled Connect to iTunes with iTunes

If you have backed it up recently and you know your iPhone password, you can simply unlock the device

Step 1: Press the button to which the blue arrow points according to the picture below until your phone's interface appears a slider.
Step 2: Drag the slider and wait for 30 seconds to turn off your phone.
Step 3: Press the button shown in the picture again to turn on your phone

Tip 2. Reset your AirPods

The next thing you can do is to reset your AirPods with your iPhone. You should put your AirPods in their case and wait 30 seconds, then open the lid. To reset your AirPods, you should do the following steps.

Step 1: Go to 'Settings'>Find 'BluetoothF'
Step 2: Find your AirPods and Tap on the 'i' icon adjacent to your AirPods
Step 3: Tap 'Forget This Device'

Note: Or you can reset your AirPods with the lid, press and hold the setup button on the back of the case for about 15 seconds, then you will see the status light flashing amber. Then try to reconnect your AirPods by opening the lid.

Tip 3. Charge your AirPods

Besides, you should make sure that your AirPods has been charged and has enough electricity to work. If your AirPods doesn't have enough electricity, you should charge it first and then try to connect it to your iPhone/ iPad again.

Tip 4. Clean your AirPods case

It's quite helpful to go ahead and clean the AirPods case and the AirPods as well. You can see there are little metal connectors at the base of the AirPods and this allows them to charge down the base of the actual case. So you need to use a cotton swabs to clean any dirt or debris that may be built up in the bottom of the case and the base of mental connections of the AirPods as well. The grime, grease and dirt will prevent your AirPods from connecting to the AirPods' case and connecting to your iPhone/ iPad.

Tip 5. Update your iOS system

If your iOS system has not been updated to the latest version, some system issues in your iPhone/ iPad will not be recoverable. Here are the steps to update your system.

Step 1: Got to "Setting"> Find "General"
Step 2: Tap "Software Update"
Step 3: Choose "Install Now"

Tip 6. Clean your AirPods case

If the 5 tips above still cannot fix your problem, maybe the iOS system on your iPhone/ iPad has been damaged for some unknown reasons. So you can try to fix AirPods won't connect to iPhone/iPad by using TunesKit iOS System Recovery software. Regarded as one of the best iOS repair tool in 2020, TunesKit can effective fix more than 50 iOS system issues without any data loss on your devices. It also supports all the iOS devices like iPhone, iPad, Apple TV, and iPod touch.

Step 1: First you need to download TunesKit on your computer and then connect your phone to the computer via a USB cable. After your phone has been detected, press "Start".


To fix AirPods wont connect to iPhone, choose the Standard mode first. If Standard mode still can't fix your problem. Then you can try Advanced mode


Note: Standard Mode can solve the common iOS issues and repair the iOS system without any data loss. Advanced mode can fix more serious issues, but it will erase all data on your phone.

Next, confirm your device information and press "Download".


Step 3: After the download process has finished, click the "Repair" button and wait for your phone being recovered.

Summary

Here are all the 6 tips to fix AirPods won't connect to iPhone. If you still have any difficulties in fixing this problem, please do not hesitate to leave your comment below and we will try our best to provide you the detailed guides.

Jan 13, 2021

Play Audible Audiobooks on Windows Media Player

Windows Media Player (WMP) is a famous and powerful media player for Windows computers, mobile phones, and tablets. For Audible fans, playing Audible audiobooks on Windows Media Player seems to be great. But many of them do not how to do that. Today, we will walk you through the best two methods to listen to Audible audiobooks on Windows Media Player.


Official Way to Import Audible Files to Windows Media Player

Amazon officially recommends users to use iTunes or Audible Manager to play Audible audiobooks. For the Windows Media Player, it won't allow users to add local Audible AA or AAX Audible files to WMP directly. 

1. Download and install Audible Download Manager from Audible official website. After installing, you will see the Audible Download Manager main screen.

2. Launch Audible Download Manager and do the settings. Double click 'Audible Download Manager' to launch it >Click 'General Settings' menu and then select the option 'Windows Media Player' under the menu 'After download import files to', Click 'Save Settings' and Confirm.

3. Download and import Audible files to WMP. Login Audible account from the official website > click 'Library' > 'My Books' to find the Audible audiobook you want > click the 'Download' button. When it is downloaded completely, you will find it on the Windows Media Player.


Play Audible Audiobooks on Windows Media Player without an Audible Account

Is there still another alternative solution to import the Audible audiobooks to Windows Media Player? You will just need to get a TunesKit Audible Audiobook Converter for Mac/Windows which can help you remove any limitations and convert Audible AA/AAX to M4A, AAC, MP3, OGG, WAV, WMA, MKA, and so on. It even doesn't require you to authorize the Audible files on your computer to let the software work. Just drag and drop the Audible AA or AAX files to the software. It offers a totally free trial version, so you can try it for free. How to convert Audible audiobooks to import to Windows Media Player? Check these!

Prepare your Audible files

Before converting, please make sure you have got the Audible AA or AAX files on your local devices. TunesKit Audible AAX Converter supports all kinds of Audible audiobooks which are ripped from CD, downloaded from the Audible website online, and received from your friends or family members. And you can drag and drop to batch import the Audible files to the software.

2. Customize Audible files settings

You can change to format of your audiobooks from the Format button. TunesKit Audible Converter offers many options to customize the output format, playback speed, volume and it supports chapters, etc. to make the output files fit your needs better. You may keep the default options or change the parameters. For example, if you have a super long audiobook, you can choose the option to split them by chapters or by hours, etc.

3. Convert Audible audiobooks

Finally, you can click the 'Convert' button to convert your Audible audiobooks to Windows Media Player. When it is done, you can drag the output Audible files to the Windows Media Player to import them effortlessly.

Conclusion

Here are the two ways to play Audible on Windows Media Player. Just choose one that suits you best.

Source: https://www.tuneskit.com/audiobook-tips/play-audible-files-on-windows-media-player.html


Jan 12, 2021

Solved: iPhone/iPad Slide to Unlock/Power off Not Working

 Do you experience your iPhone/iPad slide to unlock or power off not working? Usually, your iPhone/iPad can't slide to unlock/power off may be due to various reasons including dirt on the screen, software or iOS glitches, and outdated system versions. Despite this, we will introduce some tips for you to get out of trouble.

Before fixing your iPhone/iPad slide to unlock or power off not working, there are 2 small things you have to check. One is that you can use a piece of cotton dipped with some water to clean your iPhone/iPad's screen, thus preventing the unresponsive feature. The other is that you could also take out your iPhone/iPad's screen, as a poor-quality one will cause the screen sensitivity problem and your device definitely cannot slide to unlock or power off. Now let's get started discussing how to fix Phone/iPad slide to unlock or power off not functioning.

Way 1: Force restart iPhone/iPad

Force reboot iPhone ways

For iPhone X/11, simultaneously press down the Side and the Volume buttons until the Slider appears, then drag on the slider to close the iPhone, finally hold the Side button to open your device.

For iPhone SE (2nd) /8 /7/6, hold down the Side button until the Slider appears and drag on the slider to switch off the iPhone, finally press down the Side button to switch on the device.

For iPhone SE (1st) / 5 and former, press down the Top until the Slider appears, then drag on the slider to turn off the iPhone, finally hold the top button to turn on your device.


Force reboot iPad ways

For iPad with Home button, press down the Home and Power buttons at the same time until the Apple logo is displayed on the interface.

For other iPad versions, quickly hold and release volume up and down buttons respectively, then press the top button until the Apple logo is shown on the screen.


Way 2: iPhone/iPad software update

Like what we have said before, your iPhone/iPad running an older iOS may give rise to the can't slide to unlock/power off issue. To settle it down, you are supposed to go to Settings > General > Software Update, and click Download and Install button to update your iPhone/iPad to the latest version.


Way 3: Restore iPhone/iPad via iTunes


Step 1: Connect your iPhone/iPad to computer through a USB cable and launch iTunes.

Step 2: When the app automatically detects your iPhone/iPad, click your device icon.

Step 3: On the Summary tab, tap on the Restore option.


Way 4: Use professional iOS repair tools

It's also good to apply a professional iOS repair tool such as TunesKit iOS System Recovery which will completely resolve your iPhone/iPad can't slide to unlock or power off without any data loss. This powerful third-party software has many stunning functions listed in the following frame, and with a user-friendly interface, its easy-to-operate steps to fix different iOS issues are greatly welcomed by a few Apple customers. Come and try it for free.

Key Features of TunesKit iOS System Recovery

1. Solve 50+ iOS problems without data loss.
2. Fix Apple TV issues.
3. Compatible all iOS devices and iOS versions.
4. Support downgrading iOS versions.
5. One click to enter or exit the recovery mode for free.

Step 1: First, please download the TunesKit iOS System Recovery program on your computer and then launch it after the installation. Use an original USB cable to connect your iPhone/iPad to the computer. After entering your iPhone/iPad into recovery mode through one click, tap on the Start button. In the next window, select the Stabdard Mode.

Step 2: Confirm your device information and if nothing goes wrong, then click the "Download" button to download the firmware package that matched to your device.

Step 3: Wait for the download to complete and then click the "Repair" button. TunesKit program will start fixing your iPhone/iPad slide to unlock or power off not working issues immediately. After the repairing process is done, your iPhone shall recover to the normal again.

Conclusion

If you failed to resolve your iPhone/iPad slide to unlock or power off not working after trying the above methods, then you could send your device to Apple Store for reparation. Finally, hope you have the problem successfully settled down.

Jan 7, 2021

iPhone Cannot Verify Server Identity? Solved!

 The error message "iPhone cannot verify server identity" keeps appearing and some people are frustrated about that. Several different parts are responsible for the problem. First of all, an expired server certificate will interrupt the connection. Besides, an attempt to switch to a new mail account also causes the notification is shown. Of course, other errors in the app and the iPhone system sometimes cause the server identity verification problem. But luckily, there are feasible ways to solve it and you can start fixing now.


Way 1: Restart the Mail app

When your iPhone mail cannot verify server identity, please force quit the app first and then restart it. To do that, double press down the Home button or swipe up the control center and remove all apps running in the background including the Mail app. Next relaunch it to see whether the message still appears.

Way 2: Re-add your Mail account

Email accounts are the culprits of iPhone cannot verify server identity at some times. To fix it, simply try to delete your account and then add it as the steps below.

Step 1: Click "Settings" > "Passwords & Accounts" > "Mail" or "Mail, Contacts, Calendars".

Step 2: Tap on "Accounts" option and choose your connected account to click "Delete Account" button.

Step 3: After the deletion, go to the "Accounts" menu to select "Add Account" option to sign in your mail account.

Way 3: Update iOS

Apple company also recommend updating iPhone's system to the latest so as to resolve cannot verify server identity iPhone. If you haven't done that, just go to Settings > General > Software Update, download and install the latest iOS system.

Way 4: Force reboot iPhone

But usually, iPhone software update doesn't solve the problem. In this way, you could try force restarting your iPhone to remove some software glitches that may pose dangers to the mail server connection.

To force reboot iPhone X/11, press down the Side and the Volume buttons until the Slider appears, then pull on the slider to power off the iPhone, finally hold the Side button to open your device.

To force reboot iPhone SE (2nd) /8 /7/6, press down the Side button until the Slider appears and drag on the slider to close your iPhone, finally hold the Side button.

To force reboot iPhone SE (1st) / 5 and former, press down the Top button until the Slider appears, then drag on the slider to turn off the iPhone, finally hold the Top button.

Way 5: Switch SSL off

If you want to add another mail account yet the message just notifies you that the iPhone cannot verify server identity, then you could switch off the SSL button to achieve that without verification.

Step 1: Navigate to Settings > Passwords & Accounts.

Step 2: Select your mail account and tap on the Advanced option.

Step 3: Disable Use SSL button.

Way 6: Reset network settings

Under poor network connection, your iPhone mail may cannot verify server identity verification. In such a case, what you have to do is to remove all of your network settings by heading to Settings > General > Reset > Reset Network Settings.

Way 7: Restore iPhone system [Hot]

If unfortunately, the above ways fail to fix the issue, then you are highly suggested to use the warmly welcomed solution – using a professional iOS system repair tool such as TunesKit iOS System Recovery. This mighty third-party software, without losing any data, is able to fix various kinds of iOS issues including your iPhone cannot verify server identity, and more. Want to know how it settles the trouble? Please follow the simple steps presented here.

Step 1: Download the application on the TunesKit official website. Then double click to open this program on the computer. Next, connect your iPhone to a computer until it is being detected. After that, click the "Start" button.


Step 2: Choose the Standard Mode. Next, check whether your device model, version and other information are correct. Then, tap "Download" button and this software will download the firmware package matched with your iPhone. Then wait it quickly verifying the firmware.


Step 3: After the firmware package has been downloaded successfully, hit on the "Repair" button on the right corner to fix the iOS system. Finally, your iPhone cannot verify server identity will be resolved.


Final words

These are almost all workable solutions to solve your iPhone cannot verify server identity and we sincerely hope that your problem could successfully be resolved. Any questions? Please give your comment below.


Jan 6, 2021

Best Audible Tips You Need to Know

You may be new to Audible or have used Audible to listen to audiobooks for some time. But I am sure this passage is useful for most people which will inform you some information to save money you do not know about Audible.


1. Change to Audible subscription silver plan

The Audible golden plan subscription membership will help you get 1 free credit every month as well as other special offers at $15/month. However, sometimes you may be too busy to listen to 1 audiobook every month, then it is better to change to the hidden silver plan. With the silver plan, it will only charge $15 every two months for 1 credit, this will help you save a fortune for the long run. To switch the plan, you can head to the Audible live support as there is not such an option offered in public.


2. Sign up for the free trial with 1 free credit

Audible offers 30 days of free trial for new users to learn more about Audible audiobooks. By signing up for an account, you will get a free credit automatically and you can use the credit to redeem a favorite Audible audiobook you want. Besides, after the trial period, you will still keep the Audible audiobook you purchased with the free credit. This offer is only for new Audible members. If you have already used the 1 free credit in the past, it won't work for you again.


3. Pay attention to special deals

Audible offers many deals from time to time such as the daily deal on the Audible home page. Usually, you can spend a very low price to get the Audible audiobook. Check it regularly to see if there is one book that attracts you. Also, you can sign up for the Daily Deal to get emails about daily sales. In this way, you won't miss any special books you want.


4. Return audiobooks you don't want

The great listen guarantee feature lets you exchange books you don't love. This ensures that you don't waste any money on any audiobooks. If you find any audiobooks you don't want within 1 year, then you can go to the account details page and click the purchase history menu. From there, you can find the order that contains the book and click 'Return'.


5. Suspend account until need it

Sometimes if you are just busy with other things such as examinations etc., you may not have time to listen for a while, it is nice to stop paying for the subscription you aren't using. Instead of canceling the membership, Audible allows users to put the account on hold once a year for up to three months. During the period, you will still be able to listen to your purchased audiobooks, spend your credits, and get discounts from the Audible store.


6. Convert Audible audiobooks to MP3

Audible files are protected and in AA/AAX formats. You have to authorize them on the devices with the Audible apps before playing. It will be a big annoyance to keep authorizing the devices. If you are tired of this annoyance, you can use a special tool, TunesKit Audible AA/AAX Converter, to help you convert AAX to MP3 windows 10 to play freely. Here is the full tutorial: How to convert Audible AA/AAX to MP3.


7. Add audio upgrades for Kindle books

With WhisperSync, you can sync your Audible and Kindle books to pick up wherever you left off. So, when you buy a Kindle book, it is better to buy both the textbooks and audiobooks together. Most of the time, they offer the option to buy the Audible and Kindle books as a bundle at a super low price. For the Kindle books purchased already, you can use Matchmaker, which is a great tool to scan your Kindle library to find out if they have an audiobook counterpart. If yes, you don't need to buy the audiobooks at the original full price but just get them at a discount price.


8. Cancel membership to get a special discount

If you click the cancel membership button, the Audible website will try to keep you by offering up to a 50% discount for 3 months. This is is also available for the users who have used the 30 days free trial offer. With the 50% off gold membership, you can get 1 credit every month and you will only be charged as low as $7.49 every month. And there are other discounts like Audible student discount.


Summary

These are the 8 most helpful tips for anyone who uses Audible. Hope that you can acquire something from reading this passage. 


For more: https://www.tuneskit.com/audiobook-tips/top-10-audible-tips-tricks.html


Jan 5, 2021

Best Video Editing Software for YouTube Beginners

Videos rank higher than any other post type on the existing social media sites, according to a recent study.  And videos have become a big trend for 2021 and the future. Many people tend to upload their videos to YouTube for sharing. Before uploading, you may need to edit and enhance it with a useful video editing tool. 

There are many similar video editing programs in the market. To save your time, we'll test and pick out the top 10 best ones that most YouTubers use. 

No.1. TunesKit AceMovi Video Editor (Windows & Mac)

tuneskit acemovi video editor

TunesKit AceMovi Video Editor is an easy-to-use yet professional video editing software for YouTubers. It's one of the best video editing tools to help video content creators. The program is simple to operate and anyone can easily handle it without spending much time learning.

Besides, it provides a lot of video editing tools for YouTubers to use. You can use the basic editing features like cutting, trimming, cropping, recording, etc. And you're also able to enhance your video with advanced tools like apply text, background music, special video or sound effects, filters, transitions, animations, split screen, etc. After that, you're allowed to export and save the video in various formats, devices or social networks such as YouTube. Also, you can customize the output quality by setting codec, bit rate, sample rate, etc. according to your needs.

Price: $19.95/month; $39.95/year; $59.95/lifetime

Pros:

• Easy-to-use video editing software for YouTube beginners.
• Create and edit videos in minutes.
• Provide plenty of filters, transitions, animations, text, music effects.
• A growing library of media and resources.
• Flexible import and export options.

Cons:

• Only English UI available.

No.2. iMovie (macOS, iOS, & iPadOS)

apple imovie

For those who are looking for a simple video editing software, Apple iMovie could be an ideal choice. This video editing tool is immensely popular among iPad, iPhone, and Mac OS users. It comes along with eight themes and many different effects.

Price: Free

Pros:

• Super easy to use.
• Superb options for text over videos.
• Works well both on mobile and desktop versions.
• Auto-save feature is fantastic.

Cons:

• In smaller screens, the menus become difficult to read.
• Limited audio for video editing.

No.3. Virtual Dub (Windows)

virtualdub

Even though Virtual Dub is no longer releasing any new versions of it, but this video editor tool is superb for beginners. It is not complicated at all, and very simple to use. A must-have video editor tool for YouTube beginners. It is 100% free and lets you assemble videos, edit them, and also capture footage from BMP and TGA files. Not just this, you can also do trimming, resizing, and cutting of videos as well.

Price: Free

Pros:

• Easy to use.
• Once edited, you can directly upload the video on YouTube.
• Can edit large videos seamlessly.

Cons:

• No advanced editing features.
• Only works on Windows platform.

No.4. Filmora X (Windows & Mac)

filmora

If you're looking for simple video editing software for editing YouTube videos, you can try Filmora Video Editor. Filmora X has good features that will let you edit your video as you want. This easy-to-use tool will let you create professional-like video embedded with stunning audio and visual effects such as motion tracking, keyframing, etc.

Price: Starting at $39.99/year

Pros:

• Easy to learn.
• Good platform for beginners.
• Multiple settings available.
• Seamless interface.

Cons:

• Flickers in the example video.
• Limited audio effects.

No.5. Movavi Video Editor Plus (Windows & Mac)

movavi video editor

Beginners often look for tools that will be easy to use, and one such tool is Movavi Video Editor. This tool comes along with amazing editing features. It has a simple layout. Beginners can begin with the tutorials.

Price: $39.95/year; $59.95/lifetime

Pros:

• Tons of editing features and faster editor.
• Easy to use.
• Easy to learn.

Cons:

• Less color tuning options.
• Free trail comes with limited features.

No.6. Final Cut Pro X (macOS)

final cut pro x

Final Cut Pro X is a video editing tool developed by Apply for their Mac OS users. iMovie interface and Final Cut Pro X interfaces are similar. There are a lot of effects to go for, such as title effects, transitions, audio, video, and more. You can directly upload the video from this tool to YouTube.

Price: $299.99/lifetime

Pros:

• High-resolution video outputs.
• Fantastic libraries.
• Take a preview of the effect.
• Flexible format.

Cons:

• Not a free tool. Quite costly.

No.7. Adobe Premiere Rush (Windows, iOS & Android)

adoble premiere rush

Adobe Premiere Rush is a free simple-to-use desktop and mobile video editing application. The target users of Adobe Premiere Rush are video bloggers and YouTubers. It has tons of features. You can work with multiple audio, resize videos; color correction is possible also.

Price: Free

Pros:

• User-friendly interface.
• Very simple to use.
• Let's you create fantastic videos and tailor them as you like.

Cons:

• But pricey.
• Only three transitions supported.

No.8. KineMaster (iOS & Android)

kinemaster

KineMaster is a reliable video editing software, which is available for both iOS and Android users. Beginners will find no problem at all in using this software because it is very easy to navigate. Some of the features that you will get to try are video and audio fade, layer adding, basic editing, and so on.

Price: $0.99 - $39.99/item

Pros:

• Affordable.
• Good editing features.
• Good for beginners.

Cons:

• Available for mobile only.

No.9. Adobe Premiere Pro CC (Windows, macOS & iOS)

premiere pro

What video editing software do YouTubers use, you ask? Try Adobe Premiere Pro CC, another video editing software loved by millions of YouTubers. This video editing tool lets you process audio, adjust colors, and modify the video. You can use this video editing application on Windows, macOS, and iOS.

Price: $239.88/year(for single app); $599.88/year (for all apps)

Pros:

• Collaboration and integration with multiple people is easy through cloud integration.
• Lots of tools to edit.
• Fairly easy to use.
• Full freedom to create videos.

Cons:

• Video rendering is slow.
• Learning curve is steep.

No.10. Lightworks (Linux, OS X & Windows)

lightworks

Lightworks is a free video editing software with no watermark. You can use this software in macOS, Linux, and Windows. Lightworks is often used by bloggers, sound engineers, editors, and camera operators. For those who don't have a budget to complete their projects, Lightworks is the right video editing tool to go for.

Price: Free

Pros:

• Intuitive user interface.
• Royalty-free media and fantastic effects.
• 100% free.

Cons:

• Steep learning curve.

Final Words

These are the top 10 best video editing software for YouTubers to go for. Keep in mind that all of them have their own sets of pros and cons; hence make your decision accordingly. 

To learn more details and more tools, please visit its source:

https://www.tuneskit.com/video-editing-tips/best-video-editing-software-for-youtube.html

Jan 3, 2021

How to Fix: Facebook Messenger Video Call Not Working

Do you know the reasons behind the unavailable Facebook messenger video call? Do you know how to fix Facebook Messenger video call not working? Well, just check out this article and find the answers to these questions. 

Part 1: Why is my Facebook Messenger video call not working?

The two questions – why is my Facebook Messenger video call not working and how to fix it may beset you most. Don't worry, let's first talk about the answer to the former one and following possible circumstances are listed below.

1. Older version of Facebook Messenger app. Chances are that the Facebook Messenger app is not updated to the latest version when it gets unavailable and the video call becomes failed.

2. Poor network connection. A strong Internet connection and relatively fast speed is necessary for a well-performed Facebook Messenger video call. Otherwise, some wrongs will happen accidentally.

3. Disabled camera and microphone. If you turned off camera and microphone on your device, then you definitely cannot go along a video call on the Facebook Messenger.

4. Software and iOS glitches. Your iPhone's software or iOS bugs can also stop you from giving and receiving video calls on Facebook Messenger.

Part 2: What to do when iPhone Facebook Messenger video call not working?

Before really solve Facebook Messenger video call not working on your iPhone, you are suggested to do 4 small tips. Please check them out below.

1. Check network connection

In the first place, check the network connection on your iPhone so as to make sure the Internet is running fast. Or you can achieve that through changing between Wi-Fi and cellular data or resetting network settings. To do a reset on network settings, please head to iPhone’s Settings > General > Reset > Reset Network Settings.

2. Enable camera and microphone on Facebook Messenger

It's quite indispensable for you to allow the Facebook Messenger to access the camera and microphone, thus successfully launching the video calls on it. Simply do the steps presented here.

To allow Facebook Messenger to access camera, navigate to Settings > Privacy > Camera, then on the list of Camera option, switch Facebook Messenger on.


To allow Facebook Messenger to access microphone, go to Settings > Privacy > Microphone, then toggle Facebook Messenger optionon under the list.

3. Reinstall or update Facebook Messenger app

Not-up-to-date Facebook Messenger app will give rise in some errors during the process of video call on it. So, you may need to update it by heading to App Store > Updates > Messenger and clicking update button. Alternatively, you could delete the app and install it again on the App Store.

4. Re-sign in Facebook Messenger

The last thing you have to check is that your Facebook Messenger account is good. To ensure that, please complete the following steps to re-log in the app.

Step 1: Open Facebook app and hit on the hamburger button on the right bottom of the main interface.

Step 2: Click Settings, Account Settings and Security options.

Step 3: Locate Facebook Messenger and tap on the cross button to sign out. Then sign in it again.

Part 3: How to effectively fix Facebook Messenger video call not working on iPhone?

After the above things are checked right, if the Facebook Messenger video call is still not working on your iPhone, then you could start to fix the software and iOS glitches on your iPhone with the help of some third-party iOS repair tools such as TunesKit iOS System Recovery. Apart from fixing the Facebook Messenger video call not working on iPhone without data loss, this powerful software can deal with more than 50 kinds of iOS issues like Facebook app crashing, Apple errors, etc.

How to use TunesKit iOS System Repair to fix Facebook Messenger video call not working on iPhone?

Step 1: Connect your iPhone to your computer and launch TunesKit iOS System Recovery. Then click the Start button. In the next window, select the Standard Mode to fix Facebook Messenger video call not working on iPhone without data loss.


Step 2: Confirm your device's information. Then press the "Download" button to download and verify the firmware package matched with your iPhone.


Step 3: After the firmware is successfully downloaded, tap on the Repair button and wait until it shows a message telling you the repair is finished. After that, the Facebook Messenger video call on your iPhone can perform normally.

Summary

That's all the information including the reasons and problem-solving ways highlighted in the context. If you have anything about Facebook Messenger video call not working or other iOS issues, do contact us or leave your comment.