Facebook is an app that is used by a large number of people. It has many useful functions including uploading videos. Some may want to upload their DVD to Facebook. If we want to upload them to Facebook, we must rip them first. But how to rip them?

Rip DVD with TunesKit
The first DVD to Facebook ripper we would like to recommend is TunesKit Video Converter. TunesKit Video Converter is able to convert DVD or other videos to 250 + formats, which certainly contains the formats Facebook needs like MP4, WMV, AVI, MOV, ASF. It can support 68+ devices such as iPhone, Samsung TV, iPad, and others. Its conversion speed is 60 times faster than other ordinary converters. And there is no quality loss from the conversion. Another function you need to put DVD on Facebook is to split videos into small pieces, and TunesKit can do it, too.
Main features:
- Rip DVD to play on Facebook and other apps with 60X faster speed
- Decode DVD without quality loss
- Convert DVD or other videos to 250+formats
- Edit videos or DVD
- Clear interface and easy operation
Don't know how easy it is? You can rip DVD to Facebook by only 4 steps.
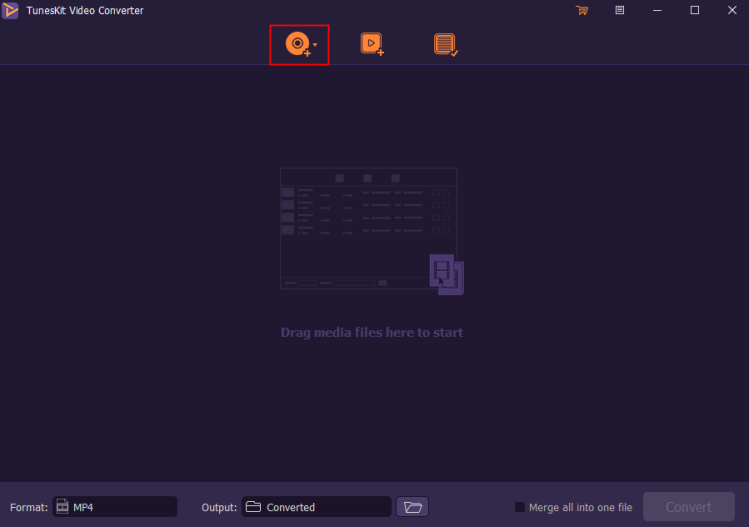
Step 1. Open TunesKit Video Converter and Add DVD
Input your DVD into the computer with the DVD drive and wait until your computer recognizes it. When you are waiting you can use the double-click to open TunesKit. When it is open, you will find three icons on the first page. Now your computer must find a DVD. So just select the first icon to load DVD into this software from your computer.
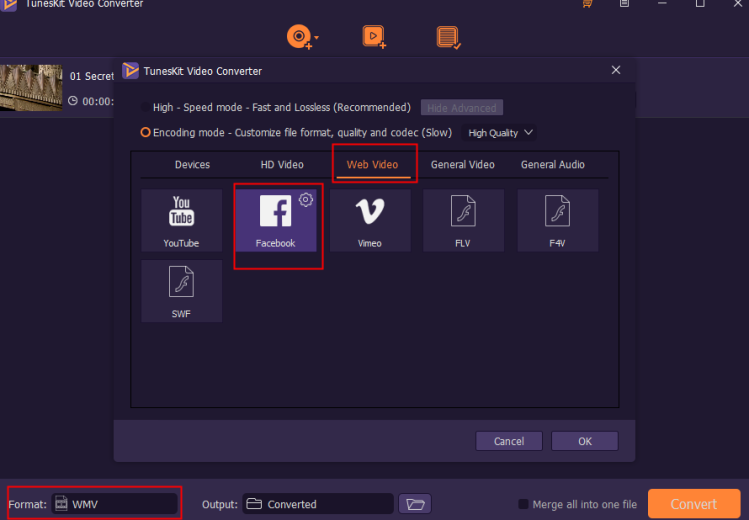
Step 2. Choose the Target Format
Tap the Format button and you will see all the formats are divided into different groups, like Devices, HD Video, Web Video, General Video, and General Audio. You need to choose the Web Video button and click Facebook. At last, tap the OK button to confirm.
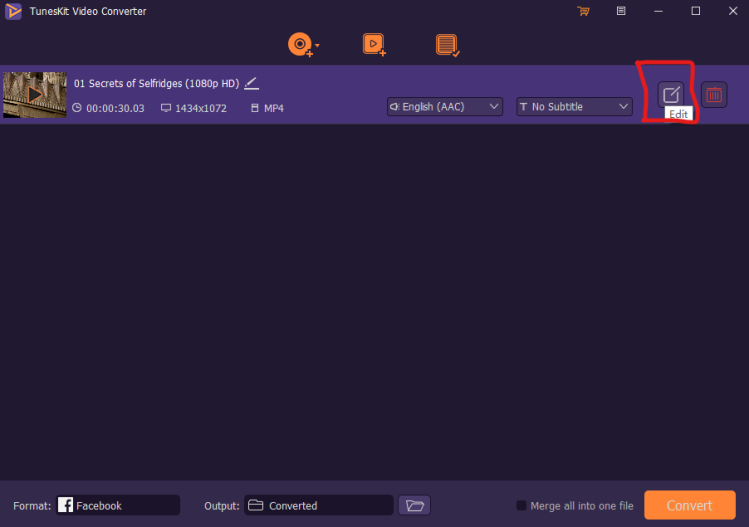
Step 3. Edit the DVD
Since Facebook cannot support large videos, you need to split your DVD to small pieces that meet Facebook's requirements. Click the Edit button to enter the Edit Mode.
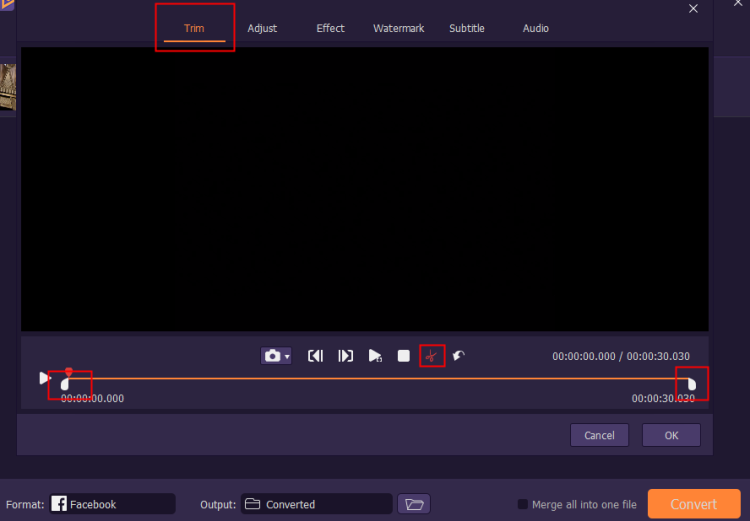
Choose the first page, Trim, to cut the DVD. You can drag the two white icons that marked by the red rectangle and make the part between them is what you want. Click the red scissors. Then you can get what you want. The other 5 functions are useful and you can try them. Do not forget the OK button when you want to get to the next step.
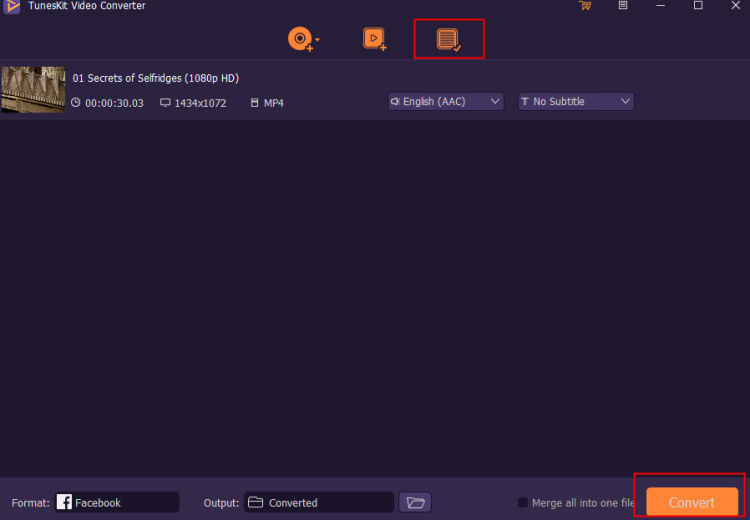
Step 4. Click the Convert Button
Click the Convert button. Wait for a while, use the Converted button which is the third button of top of this interface and find out your converted DVD videos. Now you get the converted DVD videos and you can upload your DVD to Facebook directly.
Conclusion
This article tells you how to upload DVD to Facebook if you want to enjoy them on Facebook and share them with your friends and family. You have to rip them first and you can use some DVD rippers like TunesKit to rip them without any quality loss and you can use it to convert DVD or videos to other formats if you want.
For more: https://www.tuneskit.com/video-converting-tips/convert-dvd-to-facebook.html
No comments:
Post a Comment